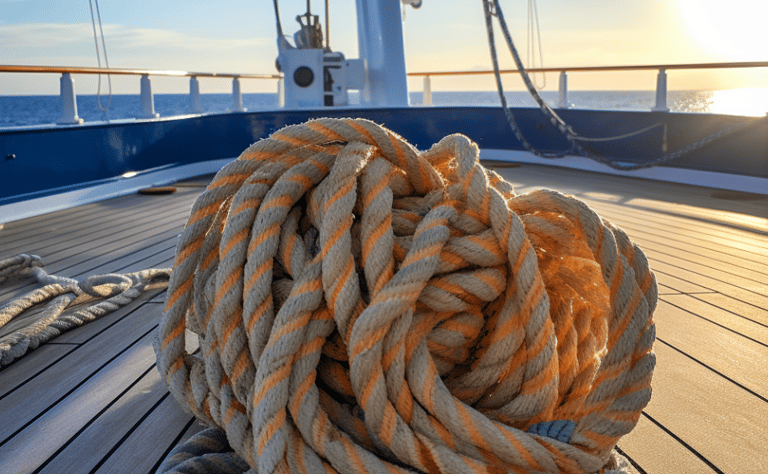
Climbing Rope | Wholesale Bulk Orders for Mountaineering Teams & Industrial Use | UIAA/CE Certified
Bulk purchase climbing rope for commercial teams, rescue operations, and outdoor gear suppliers. Custom OEM/ODM options (colors, logos), 1000-5000 lb breaking strength, OSHA-compliant materials. Contact our B2B team for volume discounts & samples!

How to Make Climbing Rope at Home: A Step-by-Step Guide from Industry Experts
By [Truckbrotools], Your Trusted Partner in Professional Climbing Gear
Climbing ropes are critical safety tools, and while store-bought options are reliable, many adventurers enjoy crafting their own for customization or cost efficiency. However, producing a safe and durable rope requires precision—this is where our factory’s expertise shines.
Why Choose Professional Guidance?
Home-made ropes may seem straightforward, but factors like material selection, weaving technique, and load-bearing capacity can make or break their safety. Our team of engineers and climbers has spent years optimizing rope design for industrial and outdoor use. Here’s how we help you replicate professional-grade results at home:
Materials & Tools You’ll Need
(Based on Our Factory Standards)
1. Core Material:
· High-Density Polyethylene (HDPE) or Nylon: Choose 100% virgin material for maximum strength (we recommend 3-strand HDPE for beginners).
· Why we insist on quality?: Inferior materials fatigue faster and fail under stress—our factory sources only ISO-certified raw materials.
2. Shuttle or Twisting Machine:
· For consistent strand alignment (hand-twisting is error-prone; invest in a semi-automatic braider for professional results).
3. Cord Locks/Screws:
· Use aluminum alloy swage fittings (not plastic!) to secure ends—we stock these in bulk for DIYers.
4. Testing Equipment:
· A tensile testing machine to verify your rope’s breaking strength (minimum 20kN for dynamic ropes; 5kN for static use).
Step-by-Step Process (With Pro Tips)
1. Strand Preparation
· Cut HDPE strips into even lengths (avoid varying thickness to prevent weak points).
· Our factory tip: Overlap strands by 10-15% during braiding to eliminate gaps.
2. Braiding Technique
· Use a 3-strand plait (left-hand twist + right-hand twist alternately) for balance.
· Ensure no cross-twists—imperfections reduce tensile strength by up to 30% (learn more about our factory’s perfect-knit technology).
3. Sealing the Ends
· Melt the rope ends with a heat gun to prevent fraying (never use glue!).
· Professional-grade sealant (available in our online store) adds extra durability.
4. Safety Testing
· Test your rope with twice the intended load in a controlled environment.
· Fact from our R&D team: Even minor kinks can reduce a rope’s lifespan by 50%—inspect thoroughly!
When to Buy Professional Rope
While DIY is rewarding, our factory manufactures ropes for scenarios like:
· Industrial Use: Crane hoists, scaffolding (certified to EN/ISO standards).
· Extreme Sports: Rock climbing, rappelling (durable and lightweight options).
· Custom Orders: Logo embroidery, specific diameters, or fire-resistant coatings.
Why Partner With Us?
As a factory specializing in precision engineering, we offer:
· Technical Consultations: Free advice on materials, specifications, and certifications.
· Bulk Discounts: Order custom rope blanks or components at wholesale rates.
· Quality Assurance: Send your prototypes to us for third-party testing (e.g., UIAA/CE compliance).
Final Checklist
✅ Use only virgin HDPE/Nylon
✅ Avoid twisting errors
✅ Test rigorously
✅ Buy professional-grade components from trusted suppliers like [Your Factory].
Ready to elevate your DIY project? Contact us today for expert guidance or visit our website to browse pre-made ropes and DIY kits. Safety matters—let’s craft excellence together!
P.S. Share your finished rope photos with #MadeWithProTech for a chance to feature on our blog!

Subscribe to our newsletter